I'm writing this partly for your interest and partly as a reference for myself of all the jobs that popped into my head as I was driving the tractor down to the petrol station to fill it with Winter diesel earlier today.
Today I managed to tighten the loose ball joint on the Tractors steering so that it now doesn't swing widly from side to side every time you hit a bump. The castelated nut was too far in and hence the split pin did not stop it from loosning. A couple of large washers sorted this out. I also found out where the coolant was leaking out of. I think I fixed this and I filled the rad up with anti-freeze. I also gave the lawn mower a quick brush off and clean and removed the battery for winter storage in the basement.
It's a long list, and some of these jobs won't be started until next summer, but here goes.
The Opel
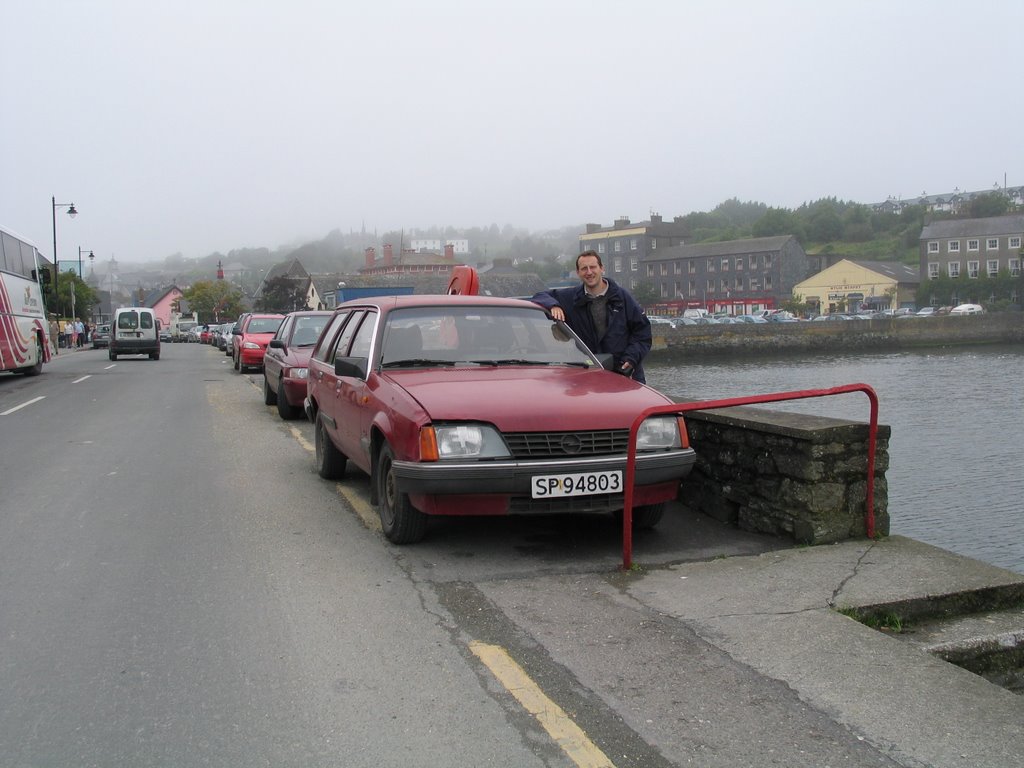
Pretty much up to date with servicing and the rest, a few small jobs really.
- Replace the bonnet cable (again) so that you don't need pliers to open the bonnet.
- Get a new clip for the drivers side window winder. I lost the old one whilst I was fixing the door handle.....
The Landy
Plenty to do here, mostly because we havn't really finished restoring it yet (even though I've been driving it for the last 2 years!!!). There's a few service type jobs too. Planning to use the Landy through this winter and then take it off the road for a little while next summer (whilst I'm using the Spitfire.... Yipppeee).

Service Items...
- Purchase and install New dipstick, the old one broke.....
- Fix Sidelights, they've got water in them and don't work most of the time.
- Fill grease into all grease nipples.
- Clean Injectors, it smokes a little too much when it's cold.
- Get new springs for the wiper arms so that they don't lift off the windscreen at 50 mp/h
Longer term...
- Treat inside of Chassis with Dynax S50.
- Clean and re-paint/protect outside of chassis members, as there is already some surface rust showing.
- Paint front wings
- Remove the bits of body which don't fit properly, make them fit and attach them permanatly.
- Rub down all of body and spray a couple more coats of Top coat.
- Attach missing door trims.
- Replace passengers door after accident with 4 post car lift
- Install Door Seals
- Mount front grill
- Sort out interior and seats.
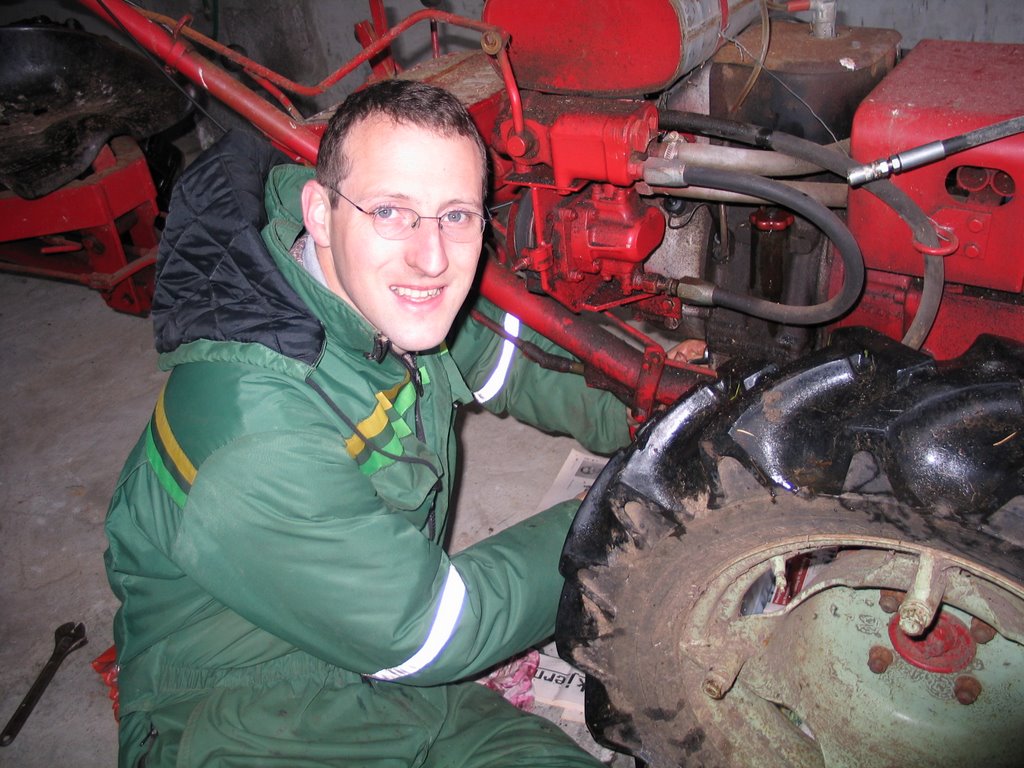
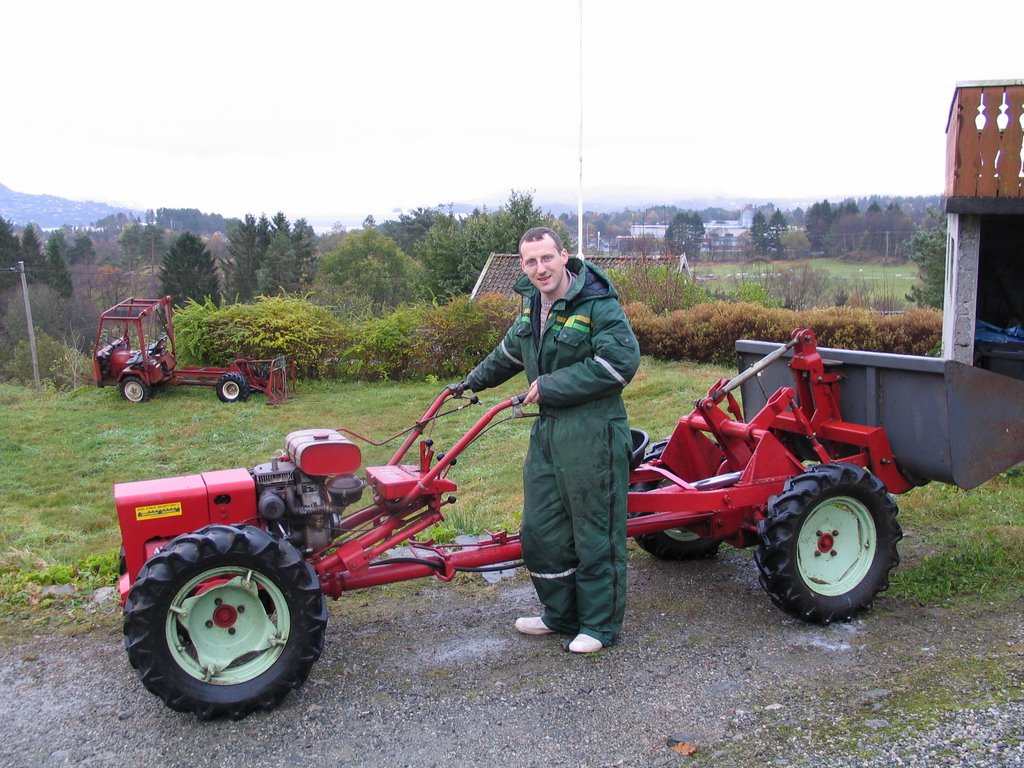
Tractor and Trailer.
Since moving in over 18 Months ago, I've been using my Zetor 7245 quite often and I have, ashamed to say, really negleted it's maintenance needs.

Tractor
- Oil change
- Change/clean all filters, oil, air, diesel, hydraulic fluid and so on.
- Fix the heater valve (was leaking so I've had to bypass the heater)
- New windscreen wiper blade.
- Fix demister
- Find out where the brake/clutch fluid dissapears slowly to and fix.
- Fix hydraulic leak.
- Find out why oil drips out of engine and fix.
- Replace all water hoses.
- Fix lights (most of them, half of them don't work).
- General Clean and tidy.
- Fix temperature gauge (or maybe it needs a new thermostat).
Trailer
- Fix Hydraulic leak.
- Straighten bent light mount, change broken light cluster and make lights work.
- Grease as required.
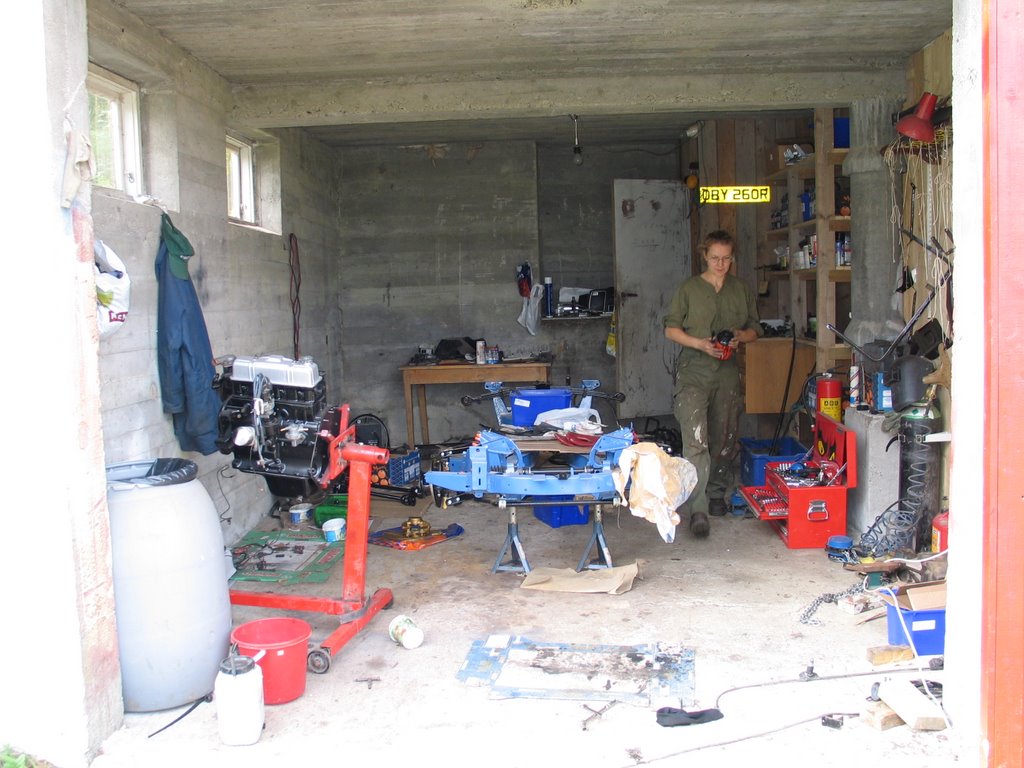
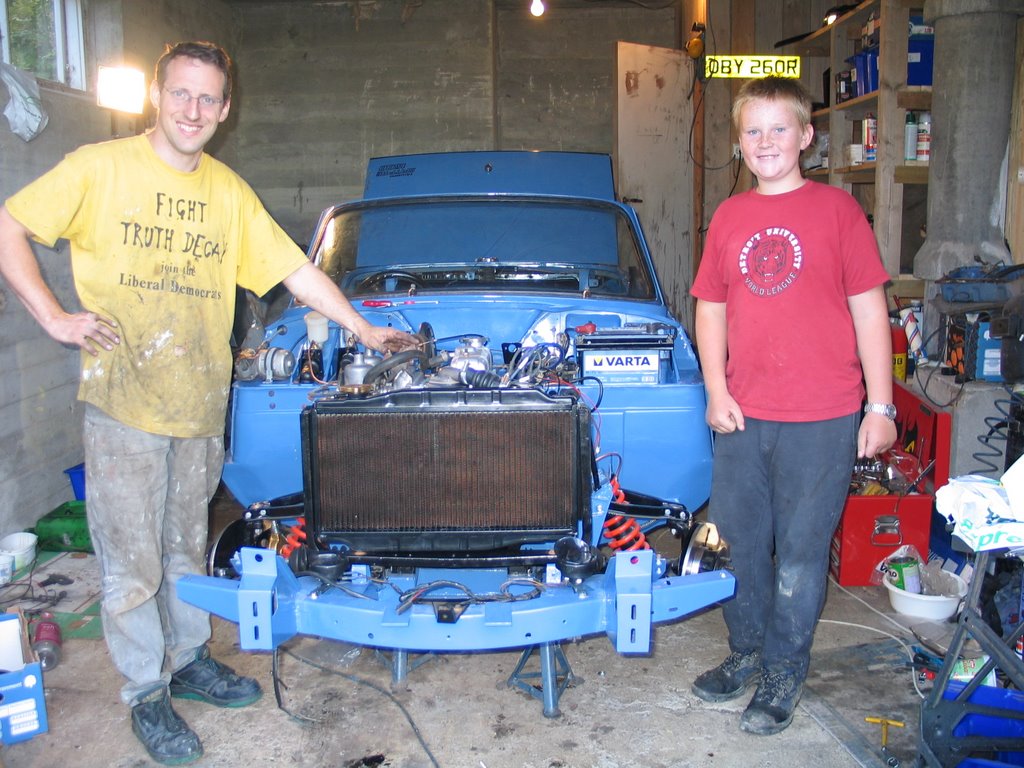
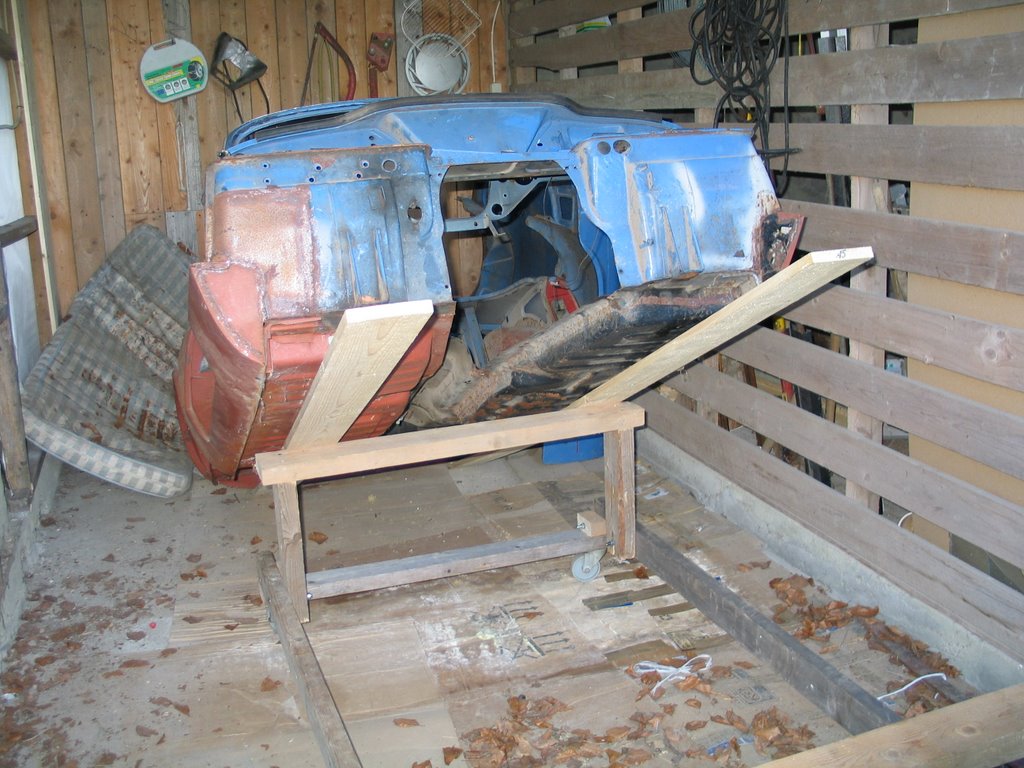
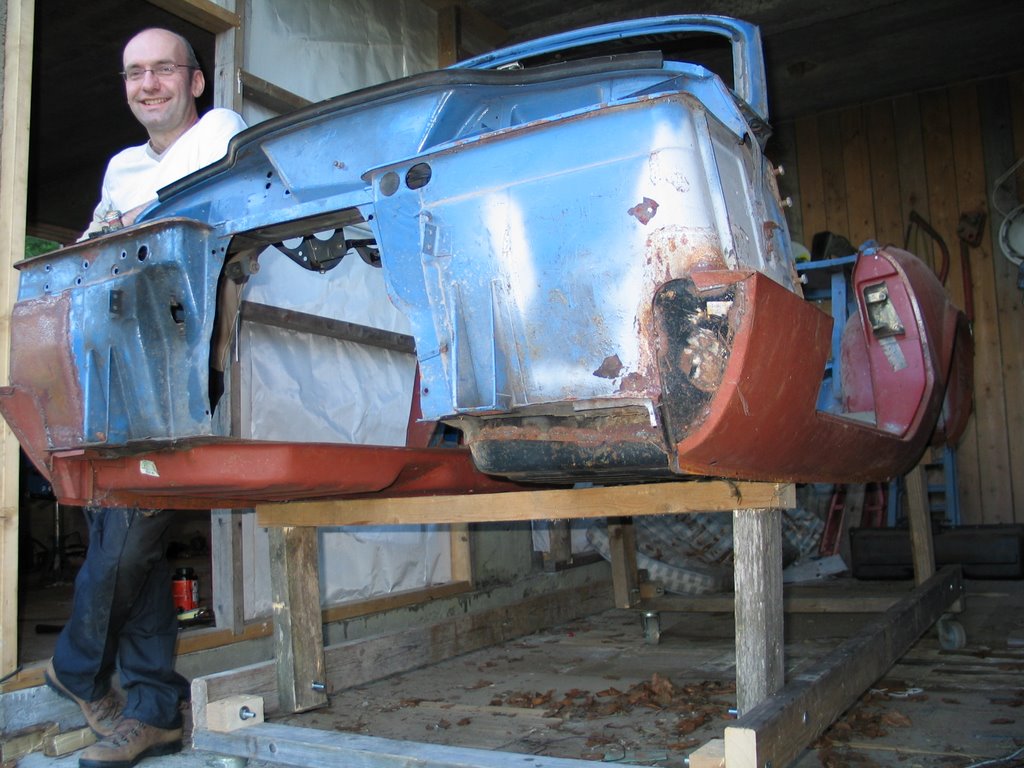
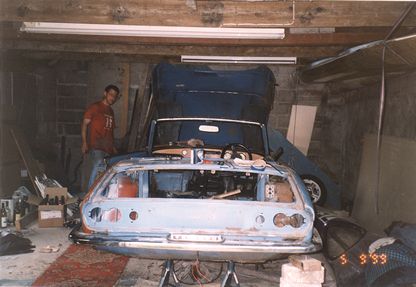
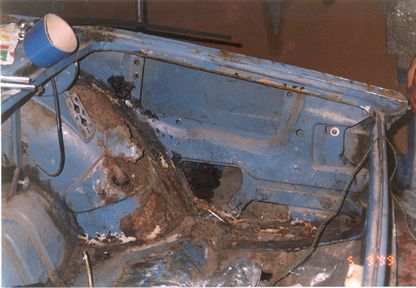
The Triumph
The plan here is to complete this over the winter so that it is 100% ready for the first days of Spring, as soon as the sun is shining and the salt is gone from the roads.
It's out and driving, but there's a fair bit of body work and interior left to do. a very quick summary here, I'll try to catch up with my project updates shortly...

- Finish body work (bonnet, doors and boot lid)
- Change Windscreen
- Interior
The David Brown
Other than towing this undercover, discovering the 3-cylinder deisel engine is seized, taking the injectors out and pouring deisel down the bores, we've not got any further with this either.
We plan to focus on the garden next year and the bucket of the front of this would be very useful, so the plan is to do the bare minimun to get it usable before next spring.

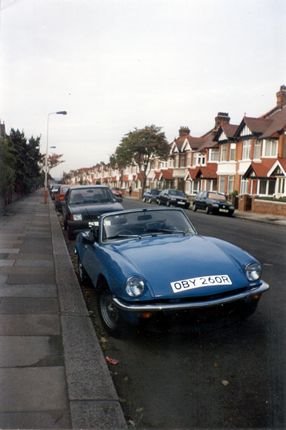
Sorry about the rubbish picture, it's the only one I could find, from the estate agent, taken before we bought this place. The David browns now tucked in a corner with all sorts of stuff in front of it and hence is not so Photogenic at the moment!. Expect Photo updates when I get working on it.
Before Spring
- Persuade engine to rotate
- Persuade engine to run
- Assumming sucessful in above, change clutch.
Longer term
- Restore.... Paint, New hoses, new glass and so on.
The Lawnmower
Again, for the last 18 months we've just used this and not really given it much attention. The price of new ride on Lawnmowers is rediculous so we really need to look after the one we've got. Not much to do really.
I don't seem to have a picture of the Lawnmower, but it's pretty much like any other basic ride on jobbie.
- Oil Change
- Wash
- Top battery up and charge it fully before storing it in the basement for winter.
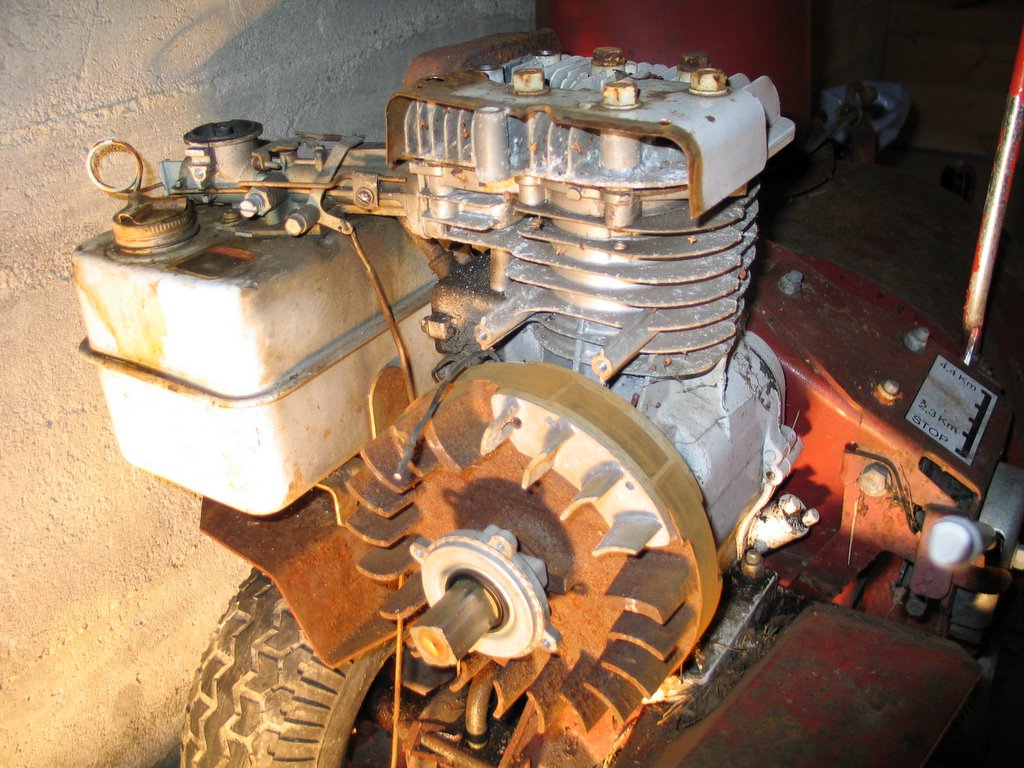
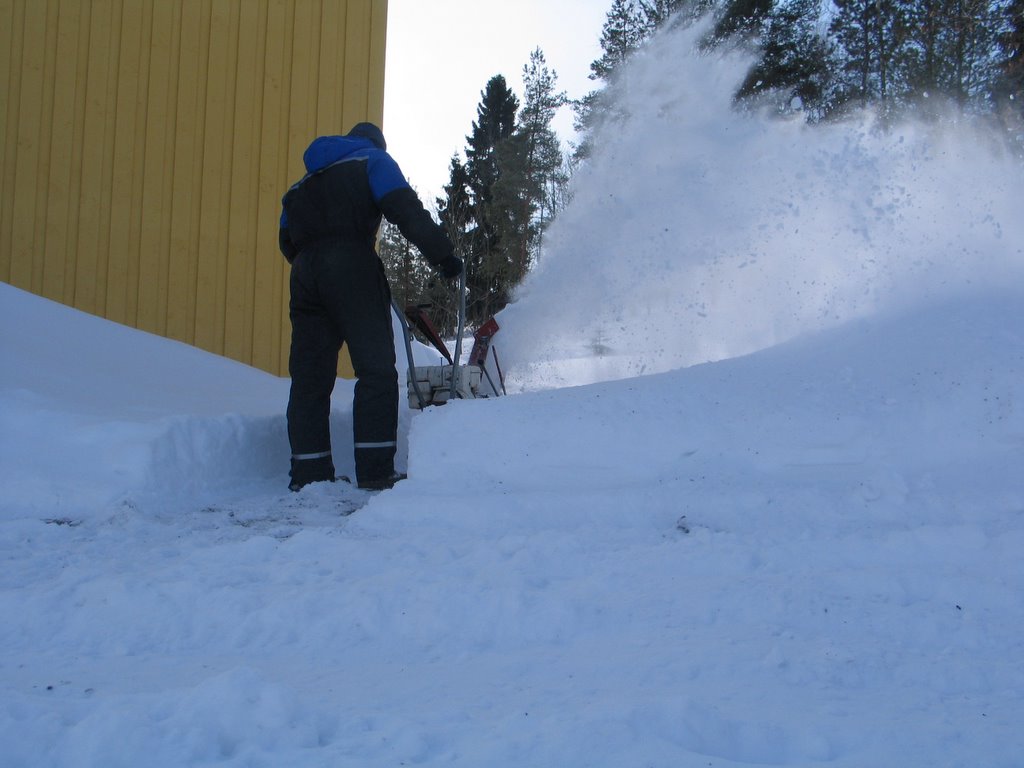
Snow Blower
Last but not least on our list of Internal combustion engines. I got this as a spares or repair before last winter, got it working and made good use of it. I reckon it's really good, Mrs VL, reckons it's too noisy and heavy to use!!!!

Before the snow comes!
- Check it still runs, we've had no snow yet this year!
- Oil change.
- General Lubrication/greasing.
Longer term
- Restore/Paint.
- Fix clutch so that it always stops when it's supposed to.
- Fix the wire/handle that rotates the spout.
Plenty to do, I'll try to fit time in to post updates as I work my way through these tasks!!